Fiber Optic Cleaning Best Practices: Tools & Techniques for Reliable Networks
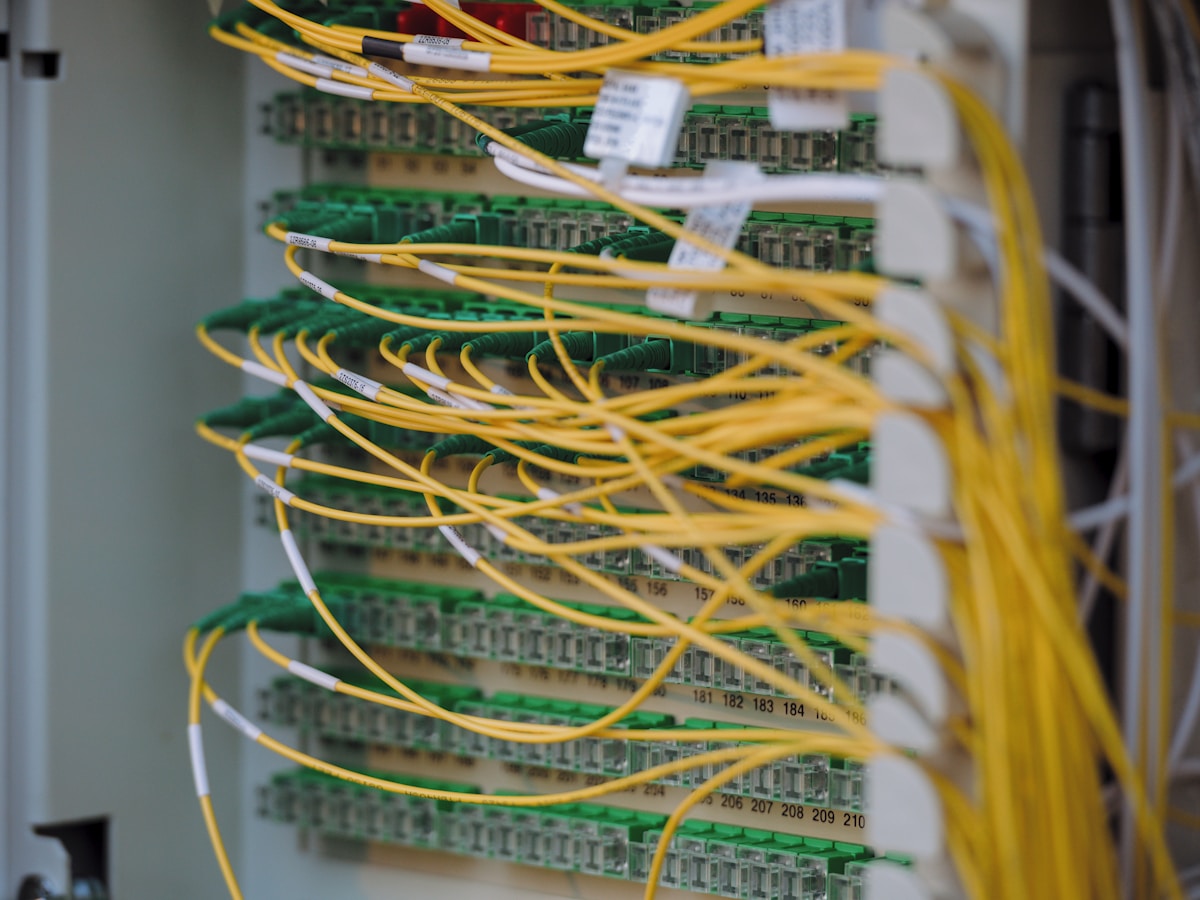
In fiber optic installations, cleanliness is not just a best practice—it's a necessity. A single speck of dust on a connector endface can cause insertion loss, reflectance, and even permanent damage to both the connector and the expensive equipment it connects to. Whether you're a seasoned technician or new to the field, mastering fiber optic cleaning is essential for ensuring low-loss splices, accurate testing, and long-term network reliability. This guide covers the best practices, common mistakes, and the essential tools you need to keep your fiber connections pristine.
Why Fiber Optic Cleaning Matters
Fiber optic connectors are precision components. The core of a single-mode fiber is only 9 microns in diameter—smaller than a human hair. When contaminants like dust, oil, or moisture are present on the endface, they can block or scatter the light signal, leading to:
- Increased insertion loss – degrading signal quality.
- Back reflection – causing errors in high-speed networks.
- Permanent damage – if debris is embedded into the glass during mating.
Therefore, every fiber optic technician should make cleaning a routine part of their workflow, both before splicing and before testing.
Common Fiber Cleaning Mistakes to Avoid
Even experienced technicians can fall into bad habits. Here are the most common mistakes:
- Using dry wipes or tissues – These can scratch the endface and leave lint behind.
- Reusing cleaning materials – Once a wipe or swab has touched a contaminated endface, it should be discarded to avoid cross-contamination.
- Inspecting without cleaning – Many technicians rely solely on a microscope to check for dirt, but if you don't clean first, you may just be looking at the same contamination.
- Ignoring the ferrule and mating adapters – Dust can hide in the alignment sleeve of an adapter, contaminating every connector you insert.
To avoid these pitfalls, always use specialized fiber cleaners and follow a consistent cleaning process.
Essential Fiber Optic Cleaning Tools
Modern fiber cleaning tools are designed to be fast, effective, and safe for delicate endfaces. Here are the must-have tools for your kit:
1. One-Click Cleaners
One-click cleaners are among the most popular tools for field technicians. They use a dry, lint-free fabric that advances with each click, ensuring a fresh cleaning surface every time. They are ideal for cleaning connector endfaces in patch panels, equipment ports, and OTDR launch cables. For example, the 1.5mm One-Click Cleaner is perfect for LC and MU connectors, while the 2.5mm Pen Type Cleaner works well for SC and FC connectors.
2. Cleaning Tool Kits
A comprehensive fiber cleaning tool kit often includes a variety of swabs, wipes, and cleaning fluids. These kits are excellent for both bench work and field use, providing you with the right tool for every situation. For instance, you might use a 2.5mm swab for SC bulkheads and a 1.25mm swab for LC adapters.
3. Cleaning Fluids and Wipes
For stubborn contamination like oils or dried residues, a high-purity cleaning fluid is necessary. Use lint-free wipes designed specifically for fiber optics, and apply the fluid to the wipe or swab—never directly onto the connector. Then, gently wipe the endface in a single direction.
4. Inspection Microscopes
After cleaning, always inspect the endface with a fiber microscope to verify it's clean. Many modern scopes have built-in screens and magnification levels suitable for detecting even sub-micron particles. If you see contamination, repeat the cleaning process.
Step-by-Step Cleaning Process
Follow these steps to ensure a thorough cleaning every time:
- Disconnect the fiber – Never clean a connector while it's connected to an active port.
- Dry clean first – Use a one-click cleaner or dry swab to remove loose dust and particles. For example, use the 1.5mm One-Click Cleaner for LC connectors.
- Wet clean if necessary – If dry cleaning doesn't remove all contamination, use a cleaning fluid and a lint-free wipe or swab. For bulkheads, use a suitable swab from a cleaning tool kit.
- Inspect – Use a microscope to check the endface. It should be free of scratches, pits, and contamination.
- Cap or cover – When not in use, always cap your connectors to prevent new contamination.
Cleaning During Splicing and Testing
Cleaning is not just for connectors; it's also critical before fusion splicing. A clean cleave is essential for low-loss splices. Before placing fibers in your fusion splicer, wipe the stripped fiber with a lint-free wipe soaked in isopropyl alcohol. Also, clean the cleaver blade and the V-grooves of the splicer regularly to prevent residue buildup.
When testing with an OTDR, remember that launch cables can become contaminated over time. Always clean the connectors on your OTDR launch cable boxes before use. A dirty launch cable can introduce dead zones and inaccurate measurements.
Best Practices for Long-Term Fiber Health
- Always cap unused connectors – Dust caps are your first line of defense.
- Store tools properly – Keep your cleaners and wipes in sealed containers to prevent contamination.
- Train your team – Ensure everyone understands the importance of cleaning and follows the same procedures.
- Use quality tools – Invest in reliable tools from reputable suppliers like the ones at Cpostore's fiber cleaner collection.
By incorporating these practices into your daily routine, you'll reduce troubleshooting time, improve network performance, and extend the life of your equipment.
Conclusion
Fiber optic cleaning is a simple yet critical task that should never be overlooked. With the right tools and techniques, you can ensure your connections are always performing at their best. Whether you're working in a data center, FTTH deployment, or long-haul network, cleanliness is key to success.
If you're looking to upgrade your cleaning toolkit, explore our range of fiber cleaners and cleaning tool kits at Cpostore. For any questions or to place an order, feel free to email us at info@cpostore.com.